非公開のGoogle SheetをPHPで操作するメモ。
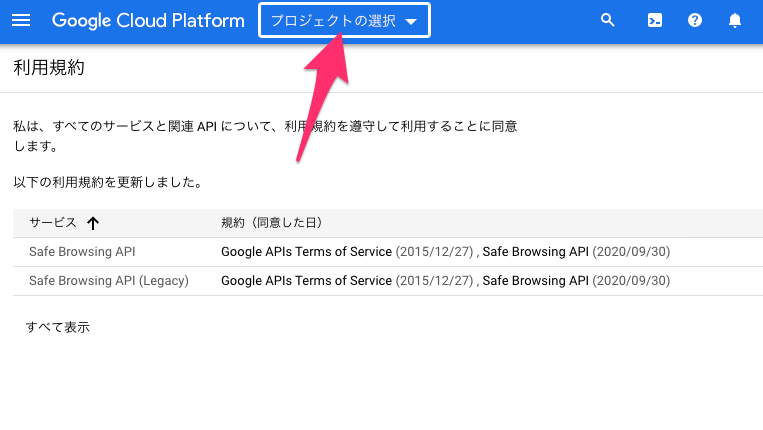
まずは、Google Cloud Platformにてプロジェクトを作成する。
上部の”プロジェクトの選択”をクリック。
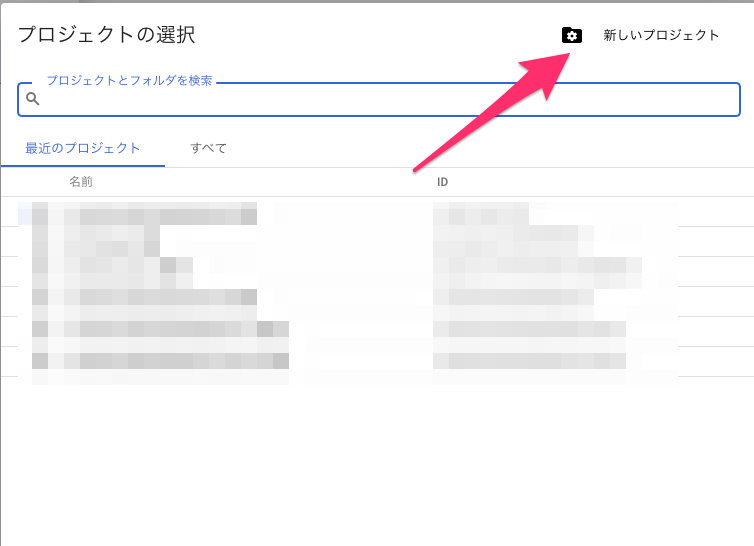
“新しいプロジェクト”をクリック。
既存プロジェクトを選択してもOK。
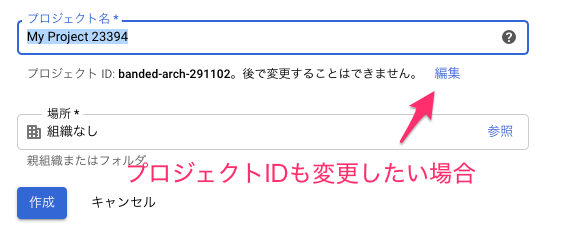
新しいプロジェクト登録画面では、プロジェクト名を入力。
変えたければ、プロジェクトIDも変えて”作成”ボタンを押す。
上部の”プロジェクトの選択”から作成したプロジェクトを選ぶ。
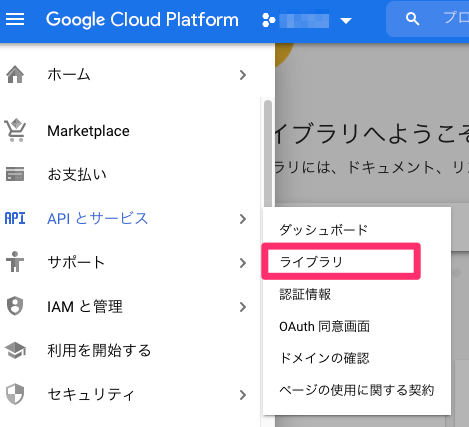
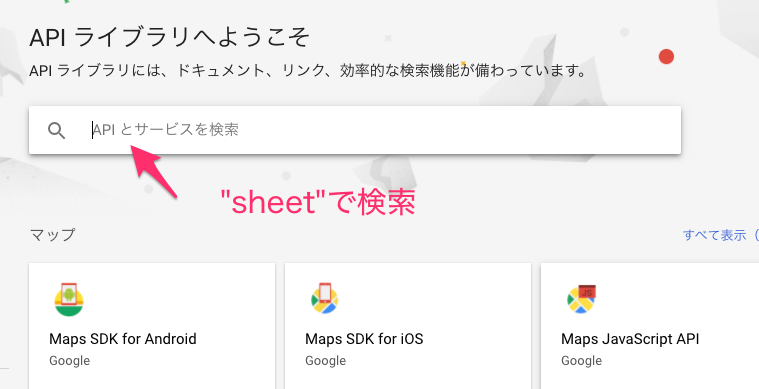
左上のハンバーガーメニューを開き、APIとサービスの子メニュー”ライブラリ”を選択する。
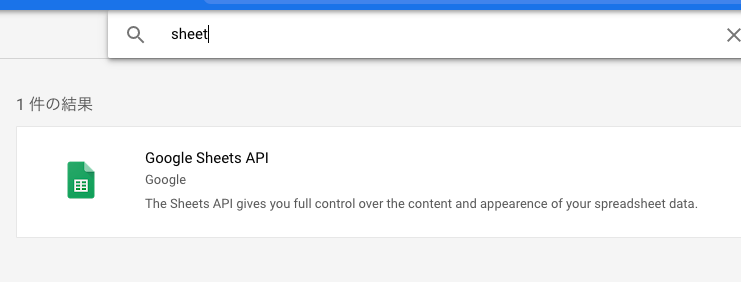
検索ボックスに”sheet”と入力する。
Google Sheets API が出てくるので選択する。
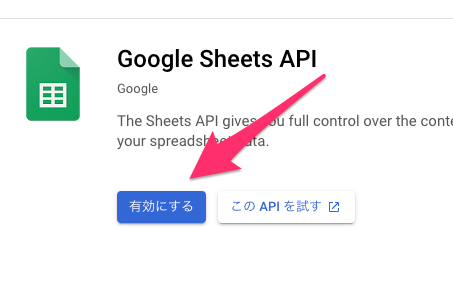
有効にするボタンを押す。
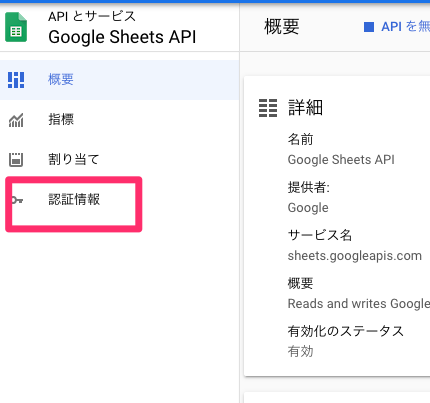
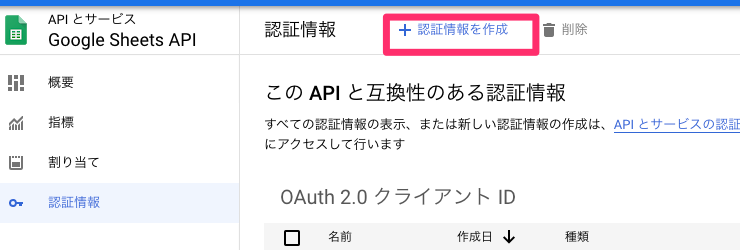
認証情報をクリック。
認証情報を作成をクリック。
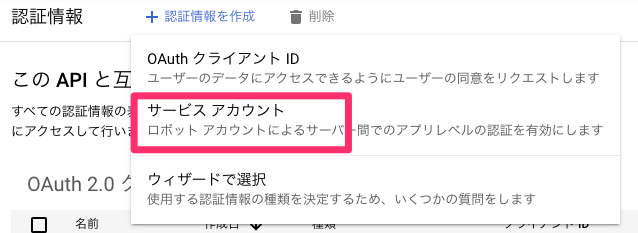
サービスアカウントを選択。
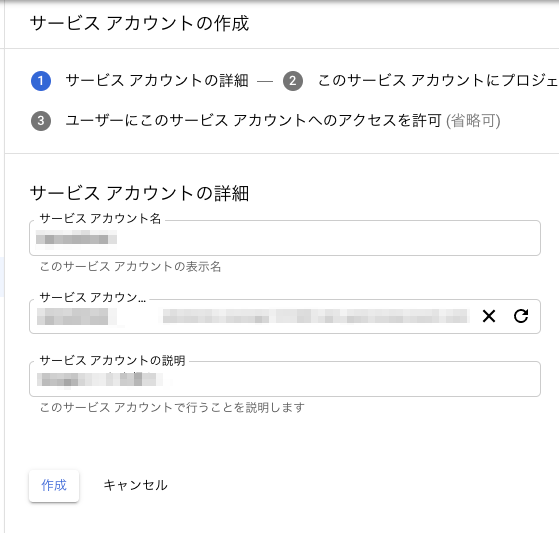
サービスアカウント名に名前を登録し、必要に応じてその他の情報も入力して作成ボタンを押す。
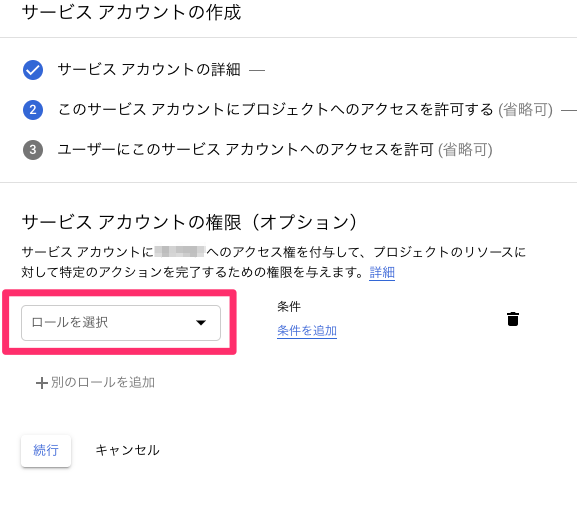
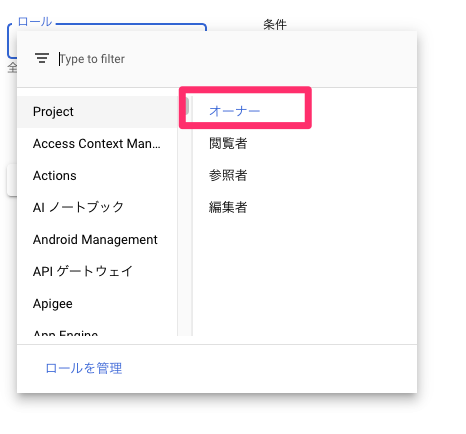
サービスアカウントの権限では、特に問題が無い限りProjectのオーナーを選んで続行ボタンを押す。
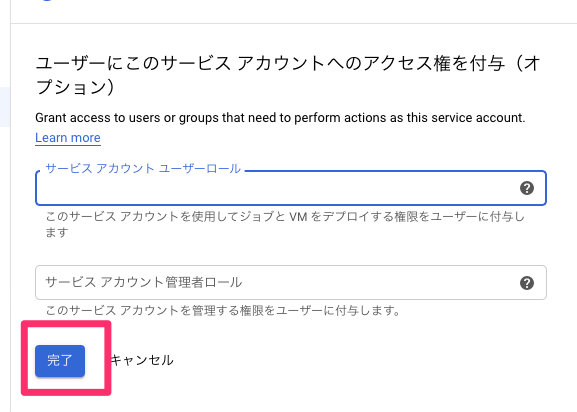
次のサービスアカウントへのアクセス権を付与はオプションなので無視して完了ボタン。
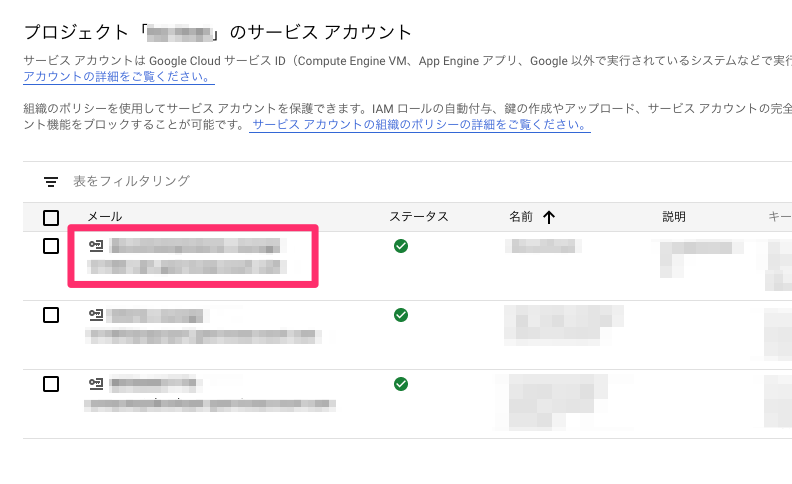
プロジェクトのサービスアカウント一覧画面になるので、今作成したサービスアカウントをクリック。
サービスアカウントの詳細の一番下、鍵を追加を押す。
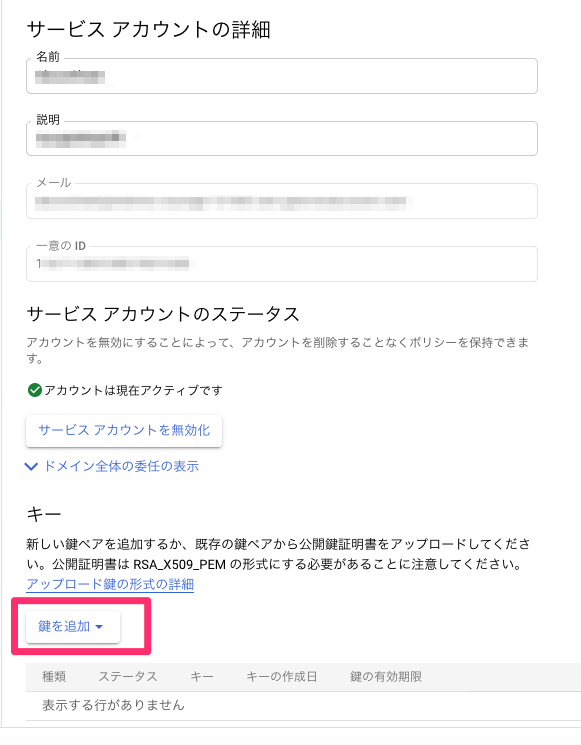
新しい鍵を作成、キーのタイプはJSONを選んで作成を押す。

秘密鍵がダウンロードされるのでサーバーに置いておく。
最後に、サービスアカウントで作成されたメールアドレスをアクセスしたいGoogle Sheetに共有して終了。
共有を忘れると下記のようなエラーが出る。
{ "error": { "code": 403, "message": "The caller does not have permission", "errors": [ { "message": "The caller does not have permission", "domain": "global", "reason": "forbidden" } ], "status": "PERMISSION_DENIED" } }
Google APIを使用する準備はここまで。
